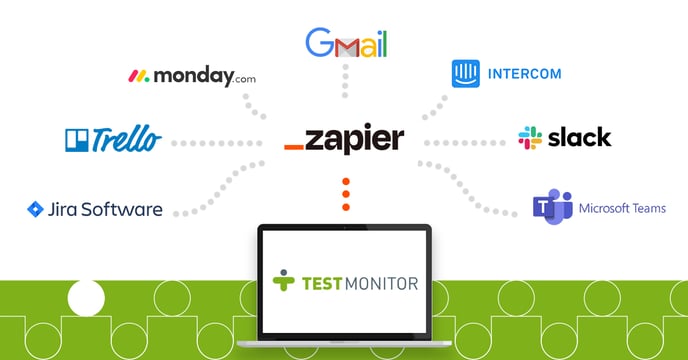
Leverage a connection to Zapier to mix and match triggers and actions to automate just about any task. Zapier is a web automation app that listens for specific trigger events in TestMonitor to create events in a third-party app with the information. For example, you can use Zapier so that every time an issue is created in TestMonitor, a task in your task management system is automatically created.
Zapier lets you connect TestMonitor with thousands of the most popular apps, allowing you to automate your work to optimize your work process.
Choose TestMonitor as your triggering app and connect to any of the apps Zapier offers. Find all possible triggers, actions, and apps on the Zapier website.
Before you begin
To set up an integration with Zapier, you will need an admin account for TestMonitor and a Zapier account.
Zapier connections are created per project in TestMonitor. Thus you will be able to determine per project whether you want to connect one or more triggers.
Setting up the Zapier Connection
You can set up an integration through your Zapier account or use the link in TestMonitor.If you want to create the integration via the link in TestMonitor, click the Cog to go to the settings. Head over to the Integrations section and click the Go to zapier.com button for Zapier.
- Sign in to your Zapier account on the newly opened browser tab.
- Click the Connect to option.
- Now select TestMonitor to configure it as the app that triggers the action and choose the trigger event (e.g. new issue).
- Enter your TestMonitor environment as the TestMonitor account.
- Click the Yes, continue button and choose the TestMonitor Project you want to connect to.
- Test the connection. Zapier will test the connection and looks for data in TestMonitor.
- Now select the app you want to connect with and act on the trigger.
- After completing all the steps, you can test your Zap. If the test goes well, you see the message Zap is ready - now turn it on! at the bottom of the page.
- Toggle on the switch next to the message to turn on the Zap. Your Zap is now working.
You can set up the Zapier connection for multiple trigger events and projects. For each trigger event, follow the steps above.
Using the Connection
When the Zap is on, the connected app acts on the selected trigger. For example, if you chose a new issue in TestMonitor as a trigger to receive a task in your task management system, you will automatically receive a task each time someone creates a new issue in your TestMonitor project.
Disconnect Zapier
You may not always need all of your trigger events. You can switch off individual trigger events in Zapier when they are no longer needed.To uninstall the Zapier integration and stop trigger events, follow the steps below:
- Open the Zapier website and log in.
- Navigate to Zaps in the left menu.
- Switch off the Zap. Your Zap is offline.