Managing Project Members
Manage project access for your team.
In TestMonitor you can assign users to a project so they have access and can collaborate with each other. All stakeholders like testers, developers and test managers can have their own role with corresponding permissions. You can update the members of a project and their roles at any time.
Updating a member role is important if someone needs wider access to the project in order to complete their work. You can also add new members to help with the workload and remove members that no longer need access to a project. All of this helps to keep the TestMonitor environment relevant to what users need.
Members Overview
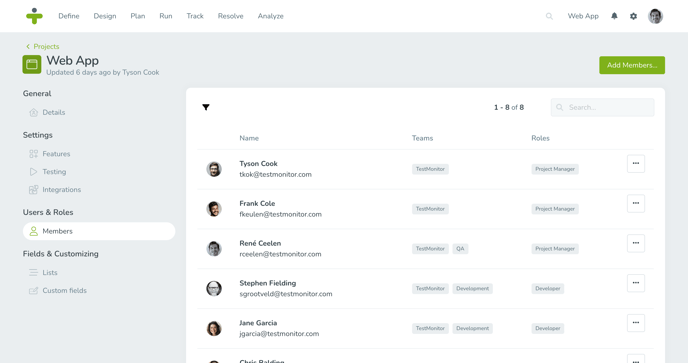
You can see a list of all of a project’s members and their roles in the members overview. Click Members in the project settings.

On the dashboard you can see which users are a member of the project. Here you also click the number of members as a shortcut to the members overview page in the project settings.
Adding Project Members
All users, including admin users, need a role to access a project. Administrative rights allow admins to assign or remove themselves from each project within the environment.
The user that created the project will automatically be assigned to the project as project manager.
Adding members to a project is simple:
- Click the Add Members button in the top right of the project members overview.
- You can add an individual user, multiple users, or all users to the project. Only the users not already assigned will be visible in the list.
- After picking users, click Roles and choose one or multiple roles to be assigned to the selected users.
You can use the filter to view users from a specific team to easily assign them to a project.
Update a Project Member
To update a project member, click the three dots in its row and select Update role. A popup window will open where you can change the roles assigned to the user. You can delete roles and add one or more roles.
The only thing updated in this section is a user’s role within a project. If you need to update a user, you should navigate to Users in the general settings.
Remove a Member from a Project
You can remove a member from a project at any time using the members page. To remove a member, click the three dots and select Remove.
When you remove a member from a project, all the activities in the project will remain, but the user won’t be able to access the project anymore. Once a member has been removed you will not be able to assign test runs and issues to the user.